Ticket Grouping
We have improved the way we create ticket groups for events. You now have the ability to create groups in the ticket manager and organize ticket types and groups using ‘drag and drop’.
Get Started
Start by creating an event or editing an existing event. Head to the Tickets tab of the Edit menu. Create a group by clicking the Add a group link next to the Ticket Manager header.

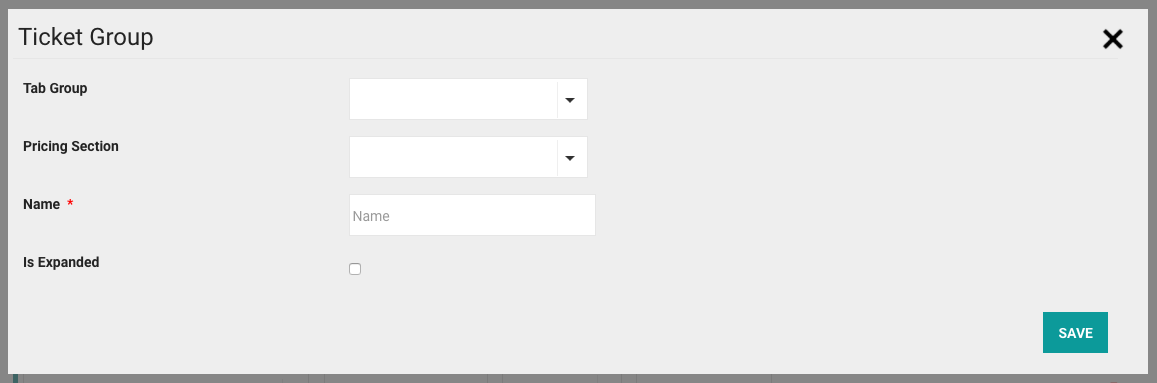
In the Ticket Group popup, fill out the following fields:
- Tab Group: Assign the ticket group to a tab. If you aren't using tabs, assign the group to the default tab called Tickets.
- Pricing Section: Assign a pricing section to the group. If this is a GA section (ie not reserved seating), select GA.
- Name: Give the group a name.
- Is Expanded: To auto-expand the group (ie have it open and act as a header), check the checkbox. Otherwise, the tickets in that group will live inside a toggle, meaning that you can open and close the group.
Hit Save.
Add Tickets to the Group
Once your group has been created, it will appear in the ticket manager.
![]()
To add tickets to the group, drag and drop them into the drop area using the move icon to the right of the ticket.

You can add existing tickets to your group, or create new tickets to be added to the group. To create a new ticket to add to the group, click the Add a ticket type link at the bottom of the tab group.

The new ticket will appear in the Ungrouped Tickets section.

Any new tickets or tickets that don't belong to a group will live in the Ungrouped Tickets section. Each tab will have its own Ungrouped Tickets section.
Move Groups
Change the sort order of any group within a tab by using the move icon to the right of the group header.

You can also edit the group name or change the auto-expand settings at any time using the edit icon located to the right of the group header.